Assignment 6: Clone Stamp Tool
Posted on January 13th, 2014 by e10391
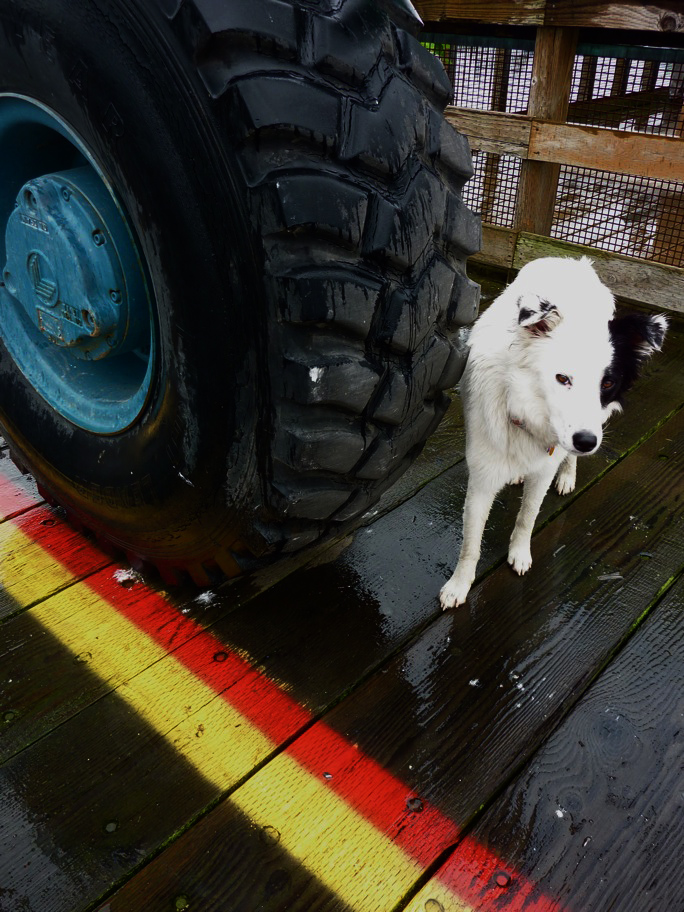
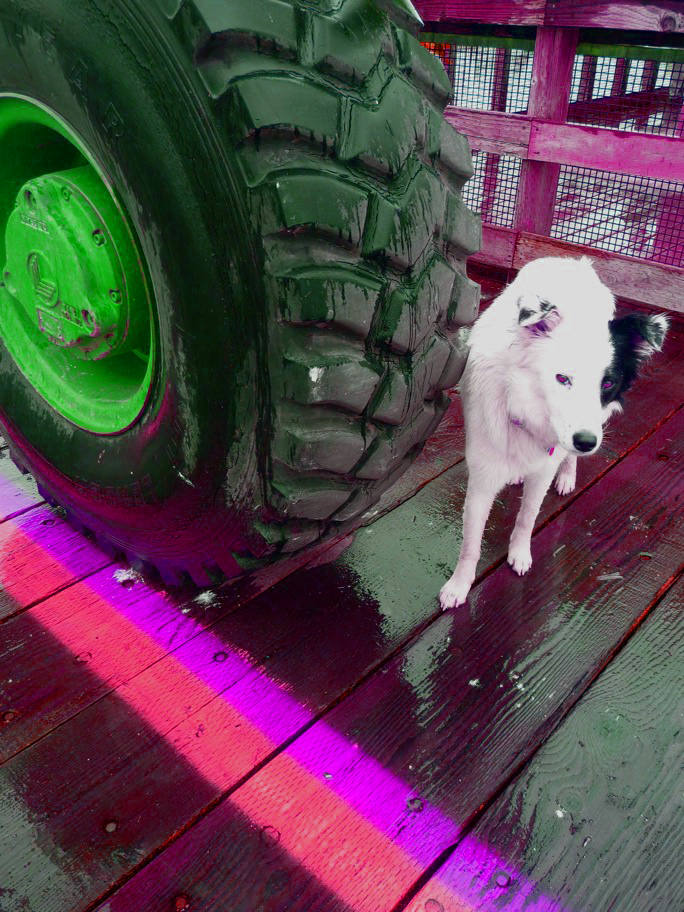
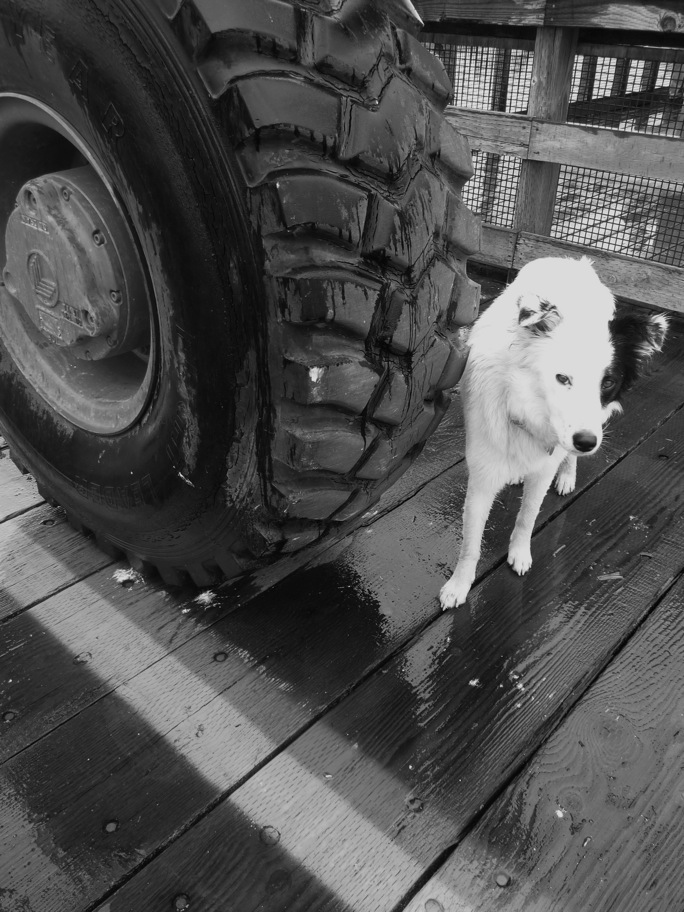
Clone Stamp Tool ![]()
I want for you to practice with the clone tool, which is very useful. Using this tool, you can copy a portion of an image and reapply it repeatedly to cover an unwanted portion of the image.
Hold down Alt to choose the area to clone, click.
In a new layer, clone the sample that you took and paint it over a part you want to cover.
Using the clone tool, you will open up the following pictures and modify them.
1. Remove the cruise ship from this photo: Cruise Ship
2. Remove the bottom blue angel airplane and replace it with the sky & clouds background. Make sure that you use the correct background sample (use sky if the plane is in the sky, and clouds if it is surrounded by clouds). Blue Angels
3. Remove the ship on the right. There are people in the water also, and they should be replaced by water. Pirate Ship Save all three pictures as jpegs and post themto your blog under the title Assignment Seven.
Write about your experience with the Clone Stamp Tool. What does it do? What could you use it for?


