Entries Tagged as ''

Project 6: Mount Marathon Logo

Here is some more real world graphic design:

The Seward City of Commerce is looking for a logo for the 2015 Mount Marathon Race.

Here are the rules:

size 8 1/2 x 11 inches

resolution at least 300 pixels per inch!

Only 4 colors

Include:

Mount Marathon Race

July 4 2015

88th Running

Seward, Alaska

The word “finisher” or “survivor”

Must have a mountain theme

We will actually enter these and the winner recieves $200!  The chosen design will be made into T-shirts, hoodies, hats, patches, and posters.  Keep in mind that the patches will be round.

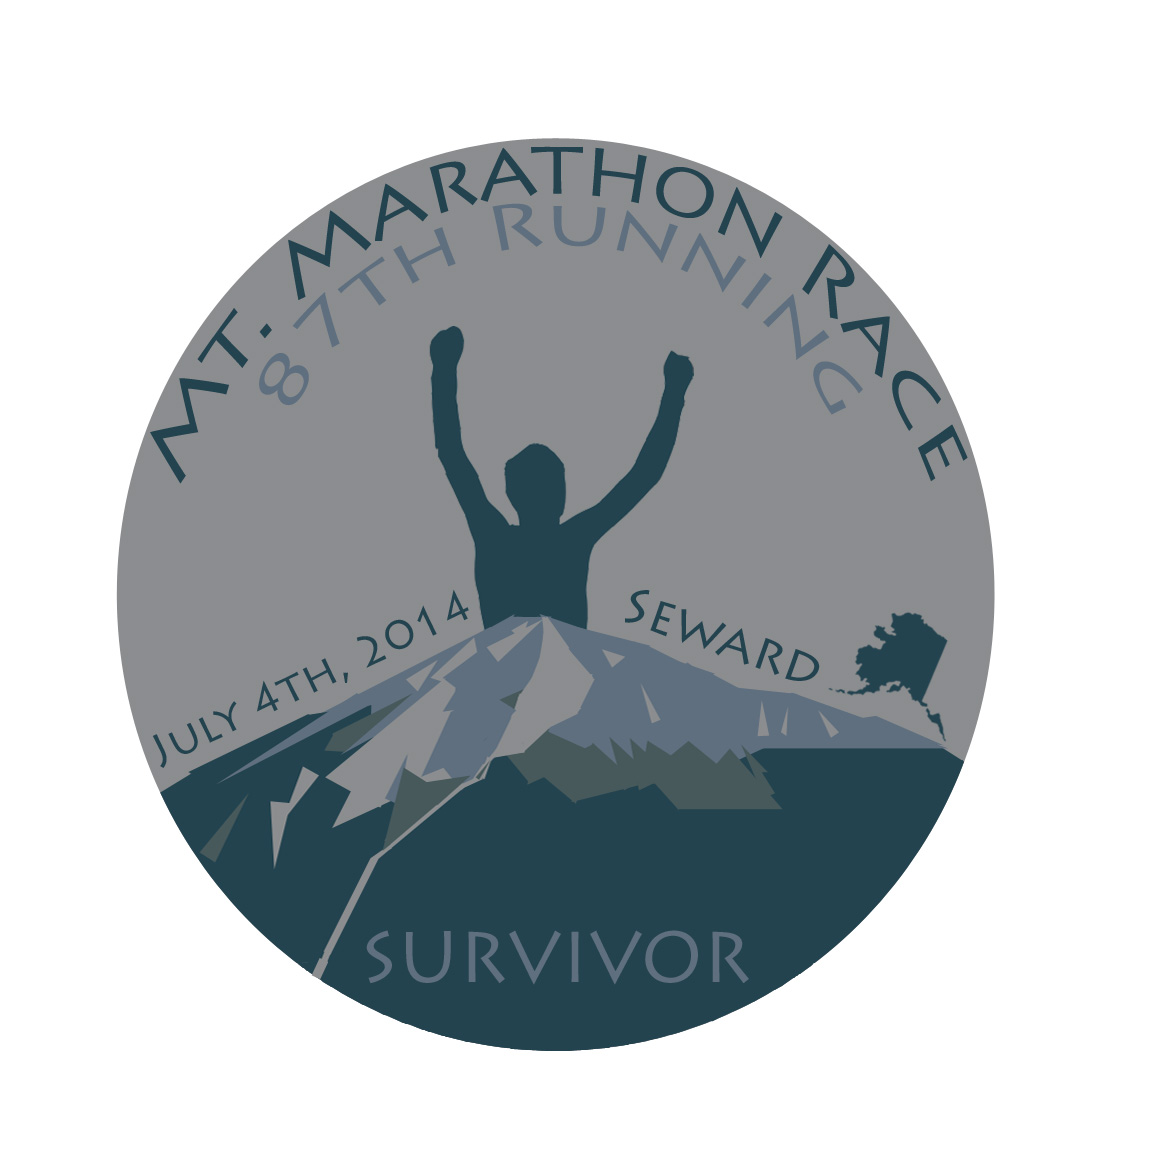
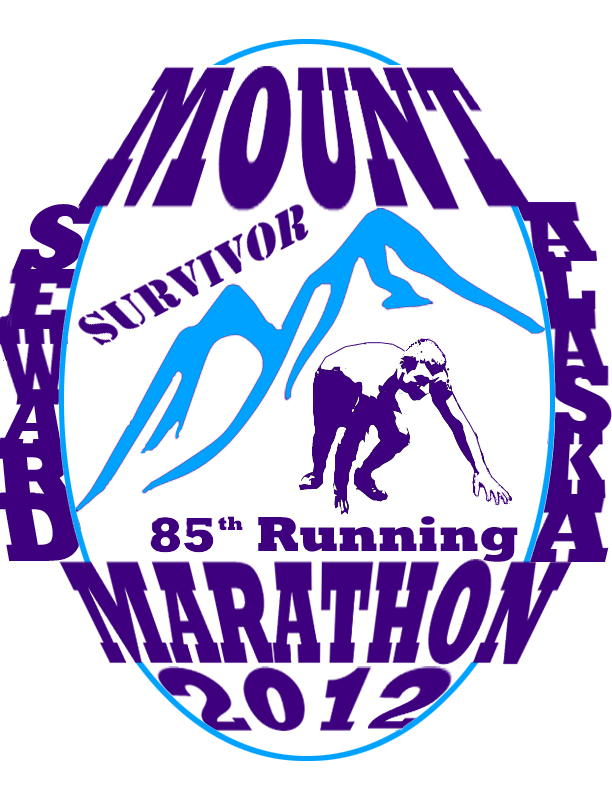
Michael Marshall won this with the design he came up 2 years ago:

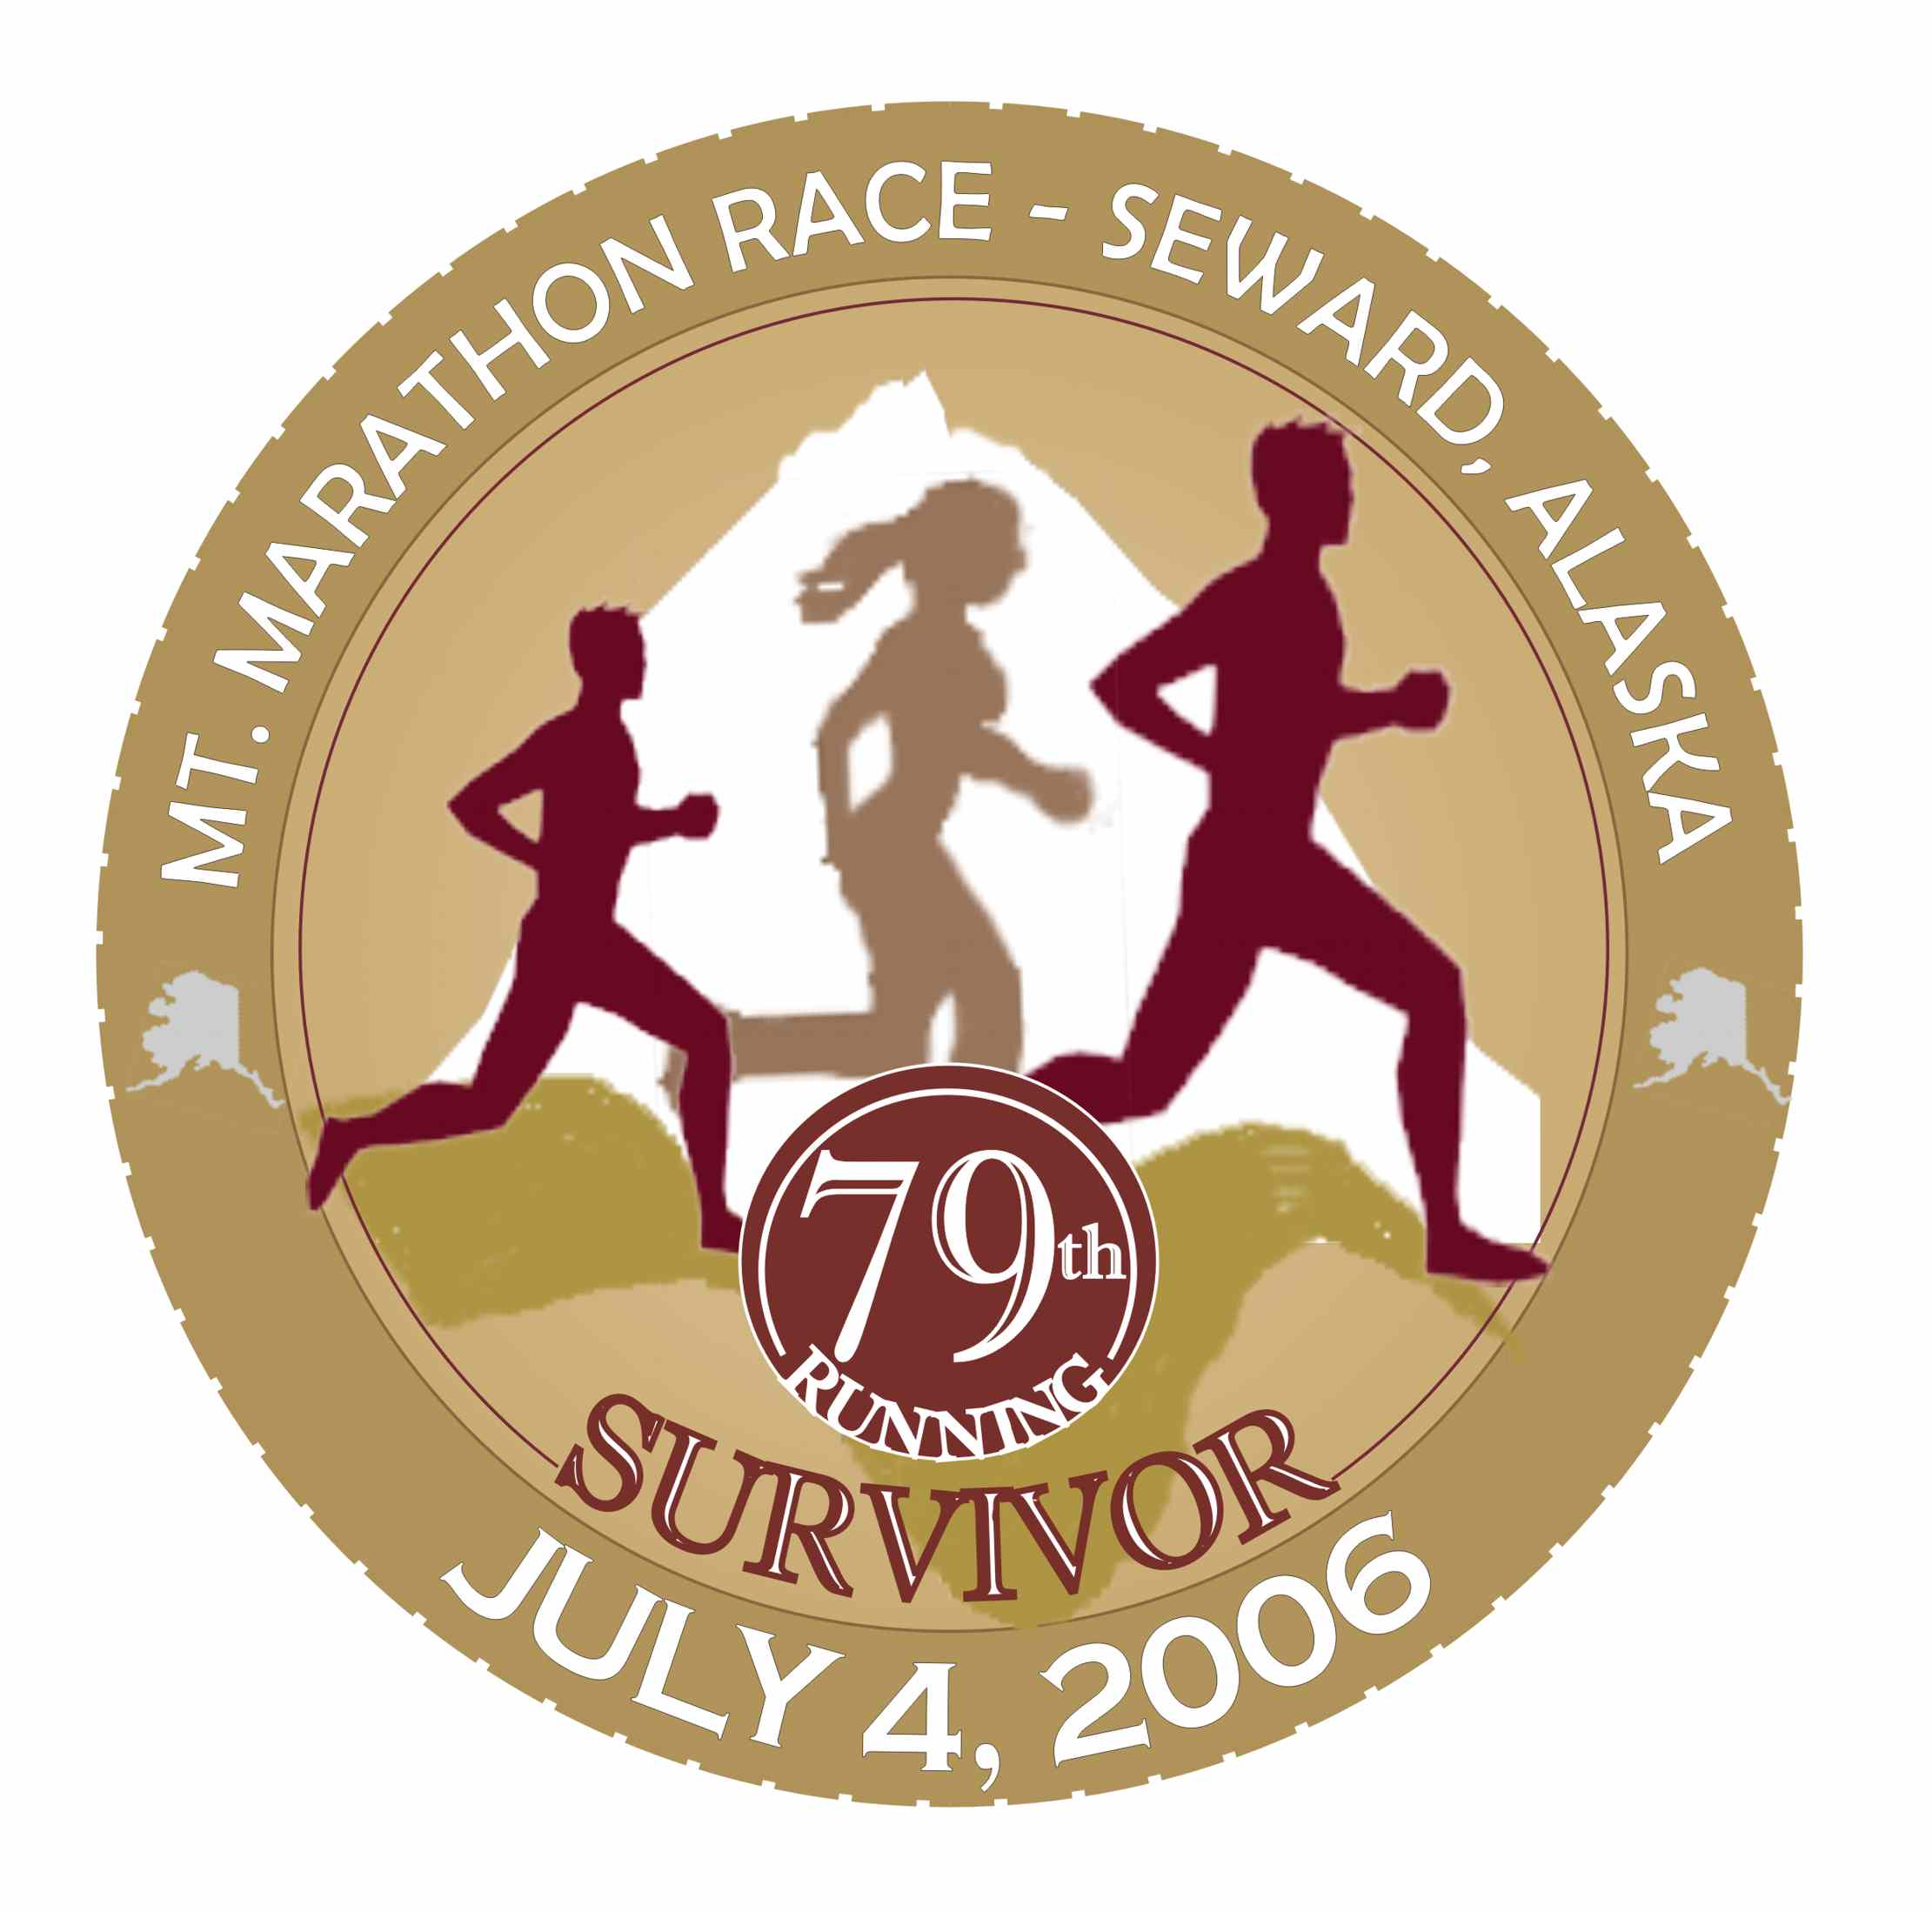
Here are some other cool designs from the past:

thomas

Gabe Esposito

Jacob Sears

My Rules:

Include a mountain and something to represent running.  Remember, good logos are bold and get the point across clearly.  The point of this logo is a hardcore race up a mountain in Seward, Alaska.  How can you represent these things visually?  Remember, the text is a part of the art, incorporate it into the design, not just as an afterthought.  You know how to add effects, bend it, etc.

I can’t wait to see what you come up with!  Use the knowledge you have learned from your other projects, you are becoming Photoshop masters

* Remember to use royalty free images or to create your own!

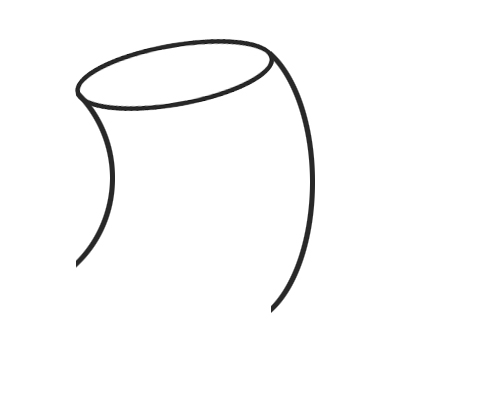
Here are other logos for inspiration:

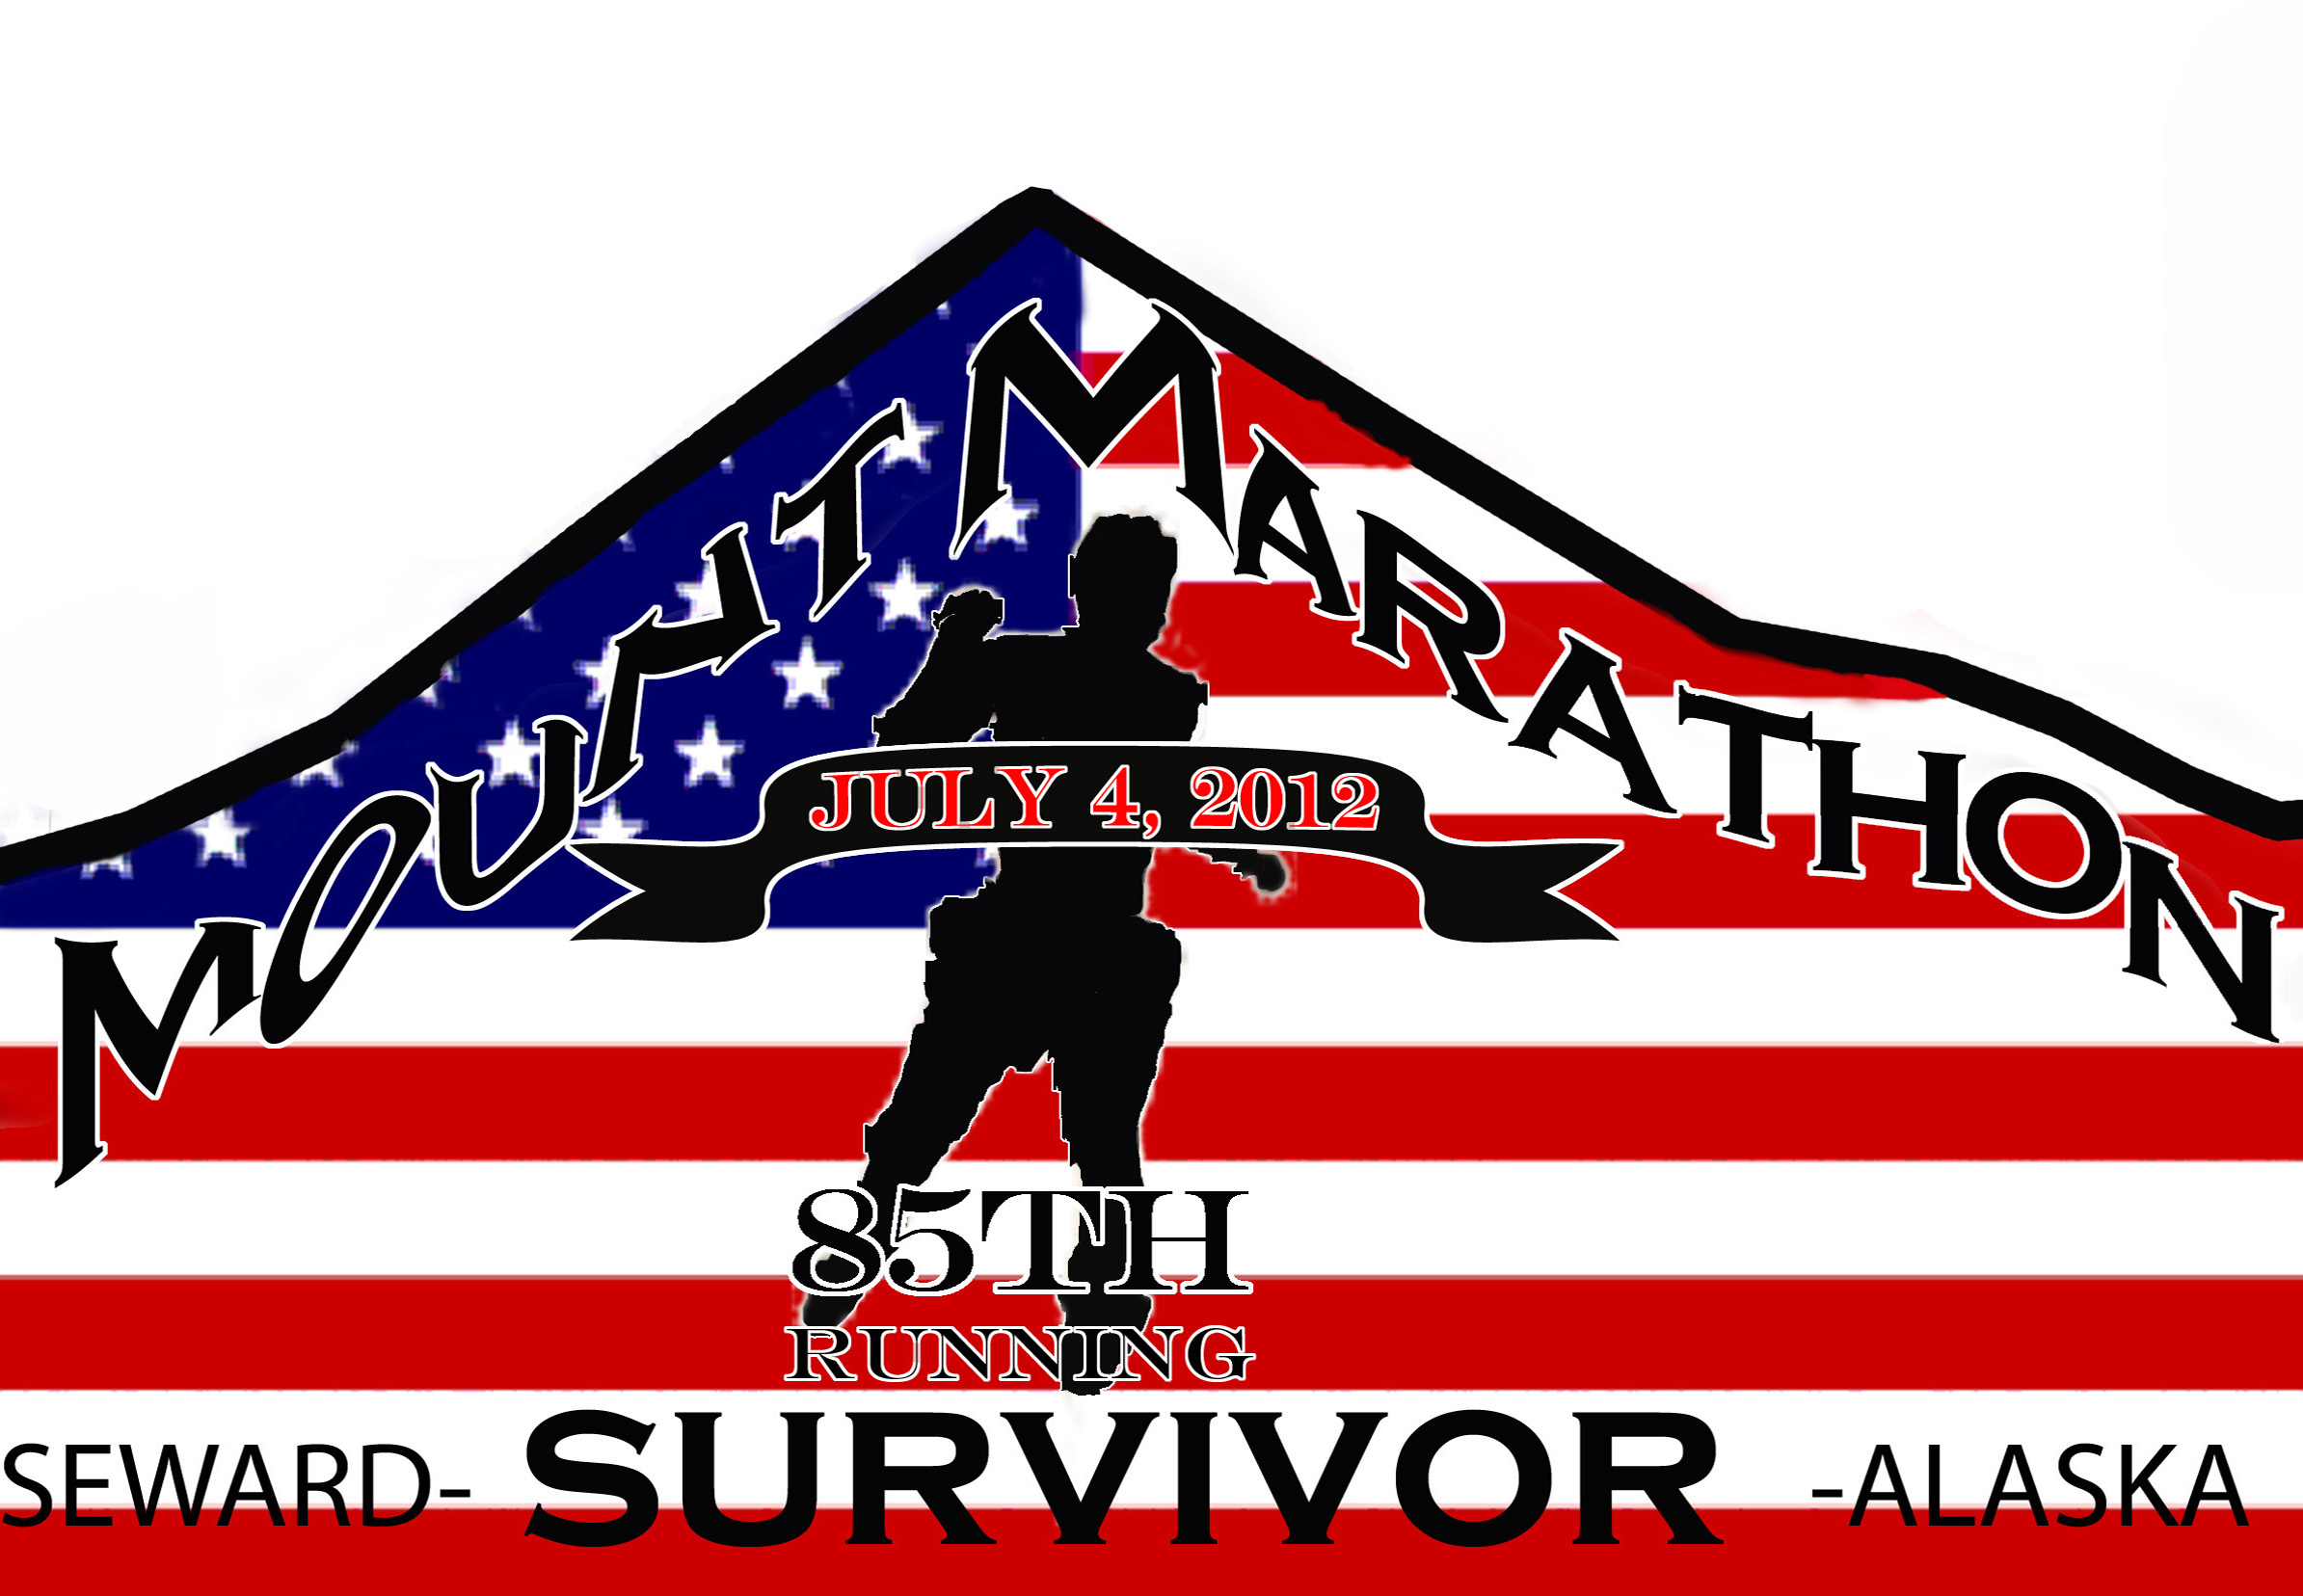
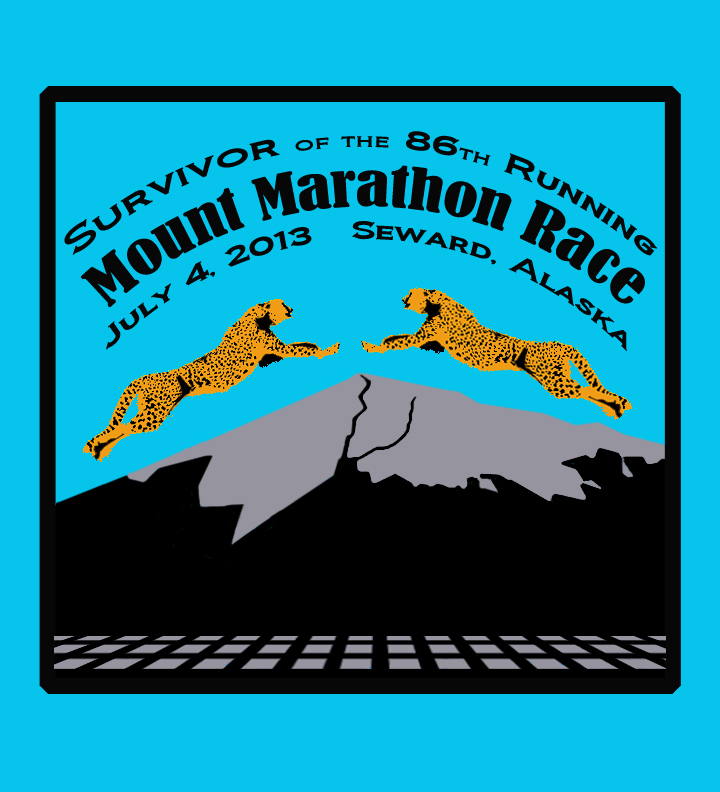
Here is my entry 2 years ago:

I’ll give you some tips on how to do it!

Project 5: Zudy’s Cafe Logo!

Our very Own Judy Odhner is opening a new restaurant in town in April!  It will be located at the Train Depot building which is downtown by the Sea Life Center.  She will be serving Soup, Sandwiches, and Desserts.  And she wants YOU to create her logo! She will give $50 to the student who creates the design she likes, plus your logo will be featured on Menus and T-shirts in her business!

She has requested that it include:

3 colors maximum

A Tiered Cake

A Classic or Antique (old fashioned) look

Zudy’s Cafe

*You can decide if you want to include the byline:  Soup, Sandwiches, and Desserts

1. Open a document that is 8 x 11 inches and set the resolution at 350 pixels per inch.  This is important to have a high quality image!!!

2. Now you know how to draw cylinders in Photoshop!  This is just a tiny step when it comes to creating a tiered cake for Zudy’s Cafe Logo.  You need to decide the style of your cake.  Do you want it bold, playful, stylized, straight, leaning, rounded, squarish, tall, wide, etc.

Advice when drawing your cake style:

To create vertical or horizontal straight lines, hold shift as you draw a line with the brush tool.  To make a diagonal line, click the brush tool to make the first point, then hold shift and click the second point.  The two points should now be connected into a line.

To create curved lines, draw an ellipse with the eliptical tool, stroke the outline (Edit->Stroke), rotate it to whatever angle you want and delete the portion of the ellipse that you don’t need.

curved linecurvedline2curved 3

You could create a S curve using two ellipses.

To distort a line, first draw a straight line, then click Filter->Liquify and make the line wavy!  Try this, its super cool!

Examples of other cake logos:

images-1

images-2


Logo-Cake-altered


1239448-6611

EVERYTHING-Cake-LOGO

4. The Text.  Remember that the Text is a part of your design!  Don’t make it an afterthought but a part of the artwork.  Carefully consider font, size, shape and placement!

5. Color.  You are limited to 3 colors.  How can you balance the composition and make everything clear with 3 colors?  Take your time and try different options!  I’m guessing you will want frosting on your cake.  How will you do that?

Good Luck and have fun with this!  Hope you win!


Assignment 9: Draw Cylinder in Photoshop

For the Next Project, you will need to draw your own multi tiered cake like so:

cake

For this assignment, we are going to simplify, and have you learn how to draw your own cylinder in photoshop so that you can stack them into a cake!

1. Open a new document.  Make it 4 x 4 inches and 300 pixels per inch.

2. Click View->Show->Grid

Make sure View->Snap is checked.  Can you see the grid now?

3. Create a new layer.  Use the Elliptical tool to draw a top shape to your cylinder.  Line it up with the grid boxes so its even.  With the ellipse selected click Edit -> Stroke and type in 5 pixels.  Click OK.

Your selection should now be outlined!

4. Duplicate the ellipse outlines layer and move it straight down as far as you want the cylinder to be high (photo 1).

5. Delete the top half of the bottom ellipse (Photo 2).

6. On a new layer, Draw the sides of the cylinder with the brush tool.  Make the brush hard (not fuzzy) and 5 pixels wide to match the line width of the elipses.  Hold shift as you draw so the line will stay perfectly straight.  Move the line over if you drew it a bit off!


Cylinders (19)

7. Shade the cylinder with the gradient tool.  First select the top elipse with the magic wand tool.

Cylinders (22)

8. Use the color you used for the lines and a lighter color.  Have the color fade down lighter (photo 1).

9.  Repeat this step on the walls of the cylinder .  Use a different gradient pattern so that the center of the cylinder is high-lighted.

Cylinders (24) Cylinders (29)

10. Post Your awesome cylinder as assignment 9!  Great job!